
Overview
Students will use their previous knowledge and skills with Google Sketchup to design their own custom chess set. Students will use 2D sketching and 3D modelling to create a custom chess set.
Essential Questions- what ideas should guide us?
- What design elements should be considered when creating a completed chess set?
- How can we create our own custom chess set?
Outcomes
1. Demonstrate use of shape and form; e.g., flat shapes on surfaces, 3-D forms joined together to make new forms, 3-D forms in proximity to each other
2. Select and solve one or more 3-D design problems using the design process
3. Demonstrate basic modelling techniques using CAD tools/software
4. Identify multi-view and orthographic drawings and their common views (e.g., front, top, side).
5.Use mathematical and/or scientific principles as they apply to design projects assigned; e.g., organization of visual space, measurement of internal space, borders, columns, use of scale
6. Apply techniques, tools, materials and other resources in design solution; e.g., tone, texture and colour, markers and paints, images, typeface, drawing, layout, measuring, notation, rendering, assembly drawing and correct use of tools
What do we Need to Know? Class Discussion Notes
Students will share their initial thoughts and responses to the Essential Questions and will be recorded below.
-How to use the follow me tool.
-What file organization are we going to use?
-How do we apply textures?
- Can we duplicate pieces?
-What designs are we going to use for our chess pieces?
-What are the pieces made of?
-How do we design the knight?
- Color selection for the board
-Sizes and scale
-How many squares are on the board
-What is the design of the board
-Dimensions of board
-Diameter of pieces
- Numbers on the side
- Size of the squares in relation to the size of the pieces.
Tools Needed
- Duotang/Binder
- Pen/Pencils/Pencil Crayons
- Blank Paper
- Ruler
- Drawing templates
- Google Sketchup Tutorials
- USB thumb stick for saving
Step 1- Independent Learning: Recreation
The most sincere form of flattery is straight copying!
1. Watch Mr. Schmidt’s tutorial about how to create a bishop piece
2. Design your first chess piece using this tutorial and the 3DVinci
3. Create 2 other chess pieces and show them to Mr. Nichol when done.
Step 2- Play!

In order to understand the game of chess and how to design a set, we need to learn the game of chess. Students will learn each of the pieces and learn how they move on a chess board.
Tools Needed
- Chess Set
- Ruler
- Pen/Pencil
- Observation Notes Template
Use the wikipedia link to learn how to play chess. http://en.wikipedia.org/wiki/Chess
History of Chess. http://en.wikipedia.org/wiki/History_of_chess#Early_history
Observations Reflection
- What is needed to be included in your own designs?
- What parts of the pieces are needed to identify them properly?
Step 4- Sketching your Models


Students will look at other chess models and will draw 2D profile drawings of their chess pieces. Using the Chess Template Handout provided, create your own chess set in 2D. Use the same principals of
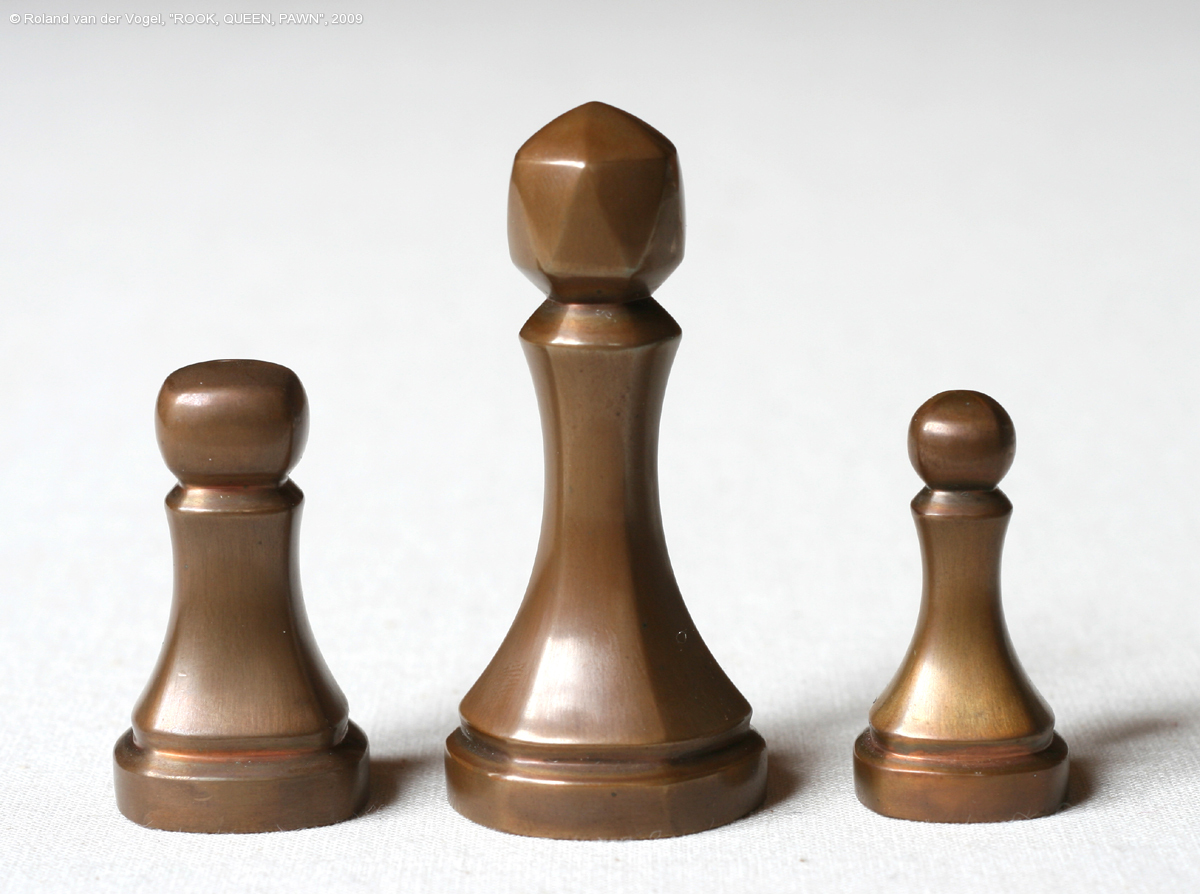
- King
- Queen
- Bishop
- Knight
- Rook
- Pawn
Observation/Reflections
- What chess designs are you most interested in? Share 3 sets that you like.
- What elements of these designs do you like? Talk specifically about individual pieces
- Use the model templates to sketch out your first set design. Which piece are you the most proud of? What do you like about it?
Step 5 Designing Basic Chess Pieces
Students will design the following pieces
- Queen
- Pawn
- Rook
1. With a friend, take your 2D Chess drawings and take pictures of them. Make sure you capture them straight on. You can use the camera in the Macs for this
2. Import each image into a new folder. Call this Folder yournamelastnamechess. Save this folder to your USB stick or H drive.
3. Import each image into a new Google sketchup file. Have 1 file for each chess piece. Don’t design them all in the same file.
4. Take a screen shot of each
Design Considerations
- Scale/Size- how do each of the pieces relate to each other?
- Uniformity- how do each of the chess pieces have similar elements to each other? Do they look like they belong together
- What is the base diameter of each of your chess pieces?
- Design- Are you going for complex, classic, or abstract? Its up to you.
- Remember, this chess set needs to be something that could actually be used to play a game of chess.
TIP- Use the same size rectangle each time you start your own pieces.
FOLLOW ME TOOL REVIEW
Step 6- Designing Complex Chess Pieces

This step will see you design the following pieces:
- King
- Knight
- Bishop
Design Considerations
- Scale/Size- how do each of the pieces relate to each other?
- Uniformity- how do each of the chess pieces have similar elements to each other? Do they look like they belong together
- Design- Are you going for complex, classic, or abstract?
- All of these pieces will require you use INTERSECT WITH MODEL tool in Google Sketchup
King- intersect to make cross
Knight- Intersect to join horse head to body of piece
Bishop- Intersect to make notch out of the Bishop's mitre.
Step 7- The Chess Board

Challenge: Create a 3D chess board for your pieces.
- Use the FOLLOW me tool to add an interesting edge profile to your board
- Use your math skills to calculate the size of each square on the board based on the diameter of your pieces plus some room around each peice.
- Remember to add a border around the board.
- How thick will your chess be?

Step 8- Putting it all Together.
It's time to put all your hard word into the final product that you are proud to share.
- Be sure you have all of your pieces completed and to the correct size/scale
- Copy and paste each of your piece
- Colour your pieces
- Add colour/texture to your chess board.
- Take 4-5 screen shots of your chess board from different angles.
- Submit your screen shots to Mr. Nichol for printing in colour. These will be displayed in the school.
- Complete the final reflection and submit it with your screen shots to Mr. Nichol. Print it and attach it to your printed photos.
Comments (0)
You don't have permission to comment on this page.